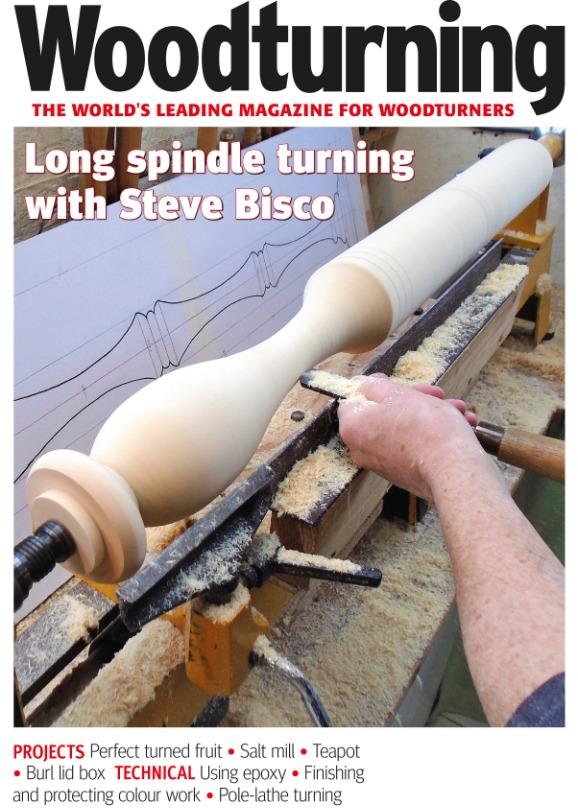
There are many options for drive centers that can be used to turn wood lathes. These include the Stebcenter and Multihead drive centers, Hollow, Hollow, Four prong, and Hollow. These centers are great for many reasons. Here are some details about each model and how to select the best one for you. This article will help you to decide which type of wood turning center you need.
Stebcenter
Stebcenter drives center for wood lathes is versatile. It allows precise turning and repositioning. Multi-tooth technology is used to enhance precision and durability of the drive center. Its teeth prevent large catches and ensure a consistent turn quality, even on large pieces. It is also useful in preventing work piece splitting and cracks, due to uneven pressure when turning the wood.
The drive center is compatible with many different tools, and can work with either soft or hard woods. The spring-loaded Stebcenter center allows the workpiece's rotation while it is being set or removed. The workpiece spins when the tail stock pressure is higher, which minimizes damage. This center also distributes pressure across a greater surface area, which allows for less splitting problems than standard spurs.
Four prong
Four Prong Drive Centers are a great choice for wood lathe tools that offer maximum grip. These centres are great for turning all kinds of spindles and have integral tips to prevent tip movement. These centres are available in three sizes: 3/8", 10mm, 5/8 (16mm), 1 (25mm), and one (25mm).

There are many kinds of woodturning drives centres. There are traditional 4-prong centers as well as pro-drive wood-lathe centres. Multihead models are also available. You can choose to use a pro-drive or standard drive model if you are working on a large project. These centres are great for producing samples or productions because they are reliable. They also have the advantage of letting you try out different types of centres before you purchase one.
Multihead
Multihead drive centres are a crucial piece of hardware for a wood lathe. It transfers power to project and transmits pressure through teeth. Prongs hold workpiece secure in place. The six-prong central provides 50% more gripping power than single-prong centres. Additionally, the teeth are more closely aligned to the project than single-prong centers. These features are vital for high quality results, and will ensure that your wood lathe runs smoothly.
WEN MT2 Drive Center Kit and Live Center Kit are complete kits for a wood lathe. The kit includes nine interchangeable driving centers and two wrenches. The kit contains three four-tooth center centers, three multispur centers and one live centre with crown tip. The multi-spur center is the best choice for turning small tapers and re-aligning the tailstock.
Hollow
A hollow drive center is useful for turning wood pieces. This center rotates at a low speed, but can be used to turn larger objects at high speeds. These centers are also versatile and can be used to complete small and large projects. If you are unsure what you want to use the center for, these are some tips that will help you make the right decision.
A drive center can be described as a portion of the headstock of a wooden lathe that fits into a morse taper. There are five types: 1-inch, 2-prong and multi-prong; spur and mini-prong. The 4-prong center has four prongs, and the mini-prong centers have two prongs. The 4-prong center can be used for small projects. It fits into the headstock on a 1-inch lathe.
WoodRiver
You're in the right place if you are looking for a WoodRiver drive centre for your wood lathe. This woodworking accessory was designed to maximize performance. WoodRiver drive centers feature sharp spurs to prevent slipping of your workpiece. They are designed to hold your workpiece and allow you to increase the pressure at the tailstock. This allows you work with more difficult woods without worrying about splitting or drifting.
The Metro Apartments at Wood River are located in Madison County, IL, and are part of the Roxana Community Unit School District 1. It's close to Downtown Saint Louis. Southwestern Illinois University Edwardsville takes less than 30 minutes. Southern Illinois University Edwardsville is close by, as are the Wood River Shopping Center and Belk Park Golf Course. Wood River is located near several colleges, including Southern Illinois University Edwardsville (Southwestern Illinois College) and others.
FAQ
How often should I buy new supplies?
You will likely need to replace some tools over time. If you are using hand tools, you will need to sharpen them frequently. Power tools will require replacement parts every so often. Spread your purchases over several months to avoid purchasing too many items at once.
Are there any tips for starting a woodworking enterprise?
It can be difficult to start a woodworking shop. But if you're passionate about your hobby, you won't mind putting in the effort. You'll enjoy the challenge and rewards of owning your own business.
You should remember that unexpected issues may occur when you launch a new venture. You might run out unexpectedly of funds. Perhaps customers won't pay you as much as you had hoped. Preparedness is key to survival in such situations.
One good tip is to set up a separate bank account specifically for your business. You'll know exactly how much money is coming in by setting up a separate bank account.
What kind and type of wood should i use?
Oak, maple, cherry and mahogany are the most common wood types used for woodworking. Each wood type has its own characteristics which affect the final product's appearance and feel. Oak tends to be harder and darker than other woods. Birch is soft and lightweight, while mahogany is denser and heavier. There are two options: solid wood and veneers. Veneers consist of thin sheets made from wood and glued together to form a single layer.
What is the minimum amount I will need to start?
Because every project is unique, there aren't exact numbers. These factors will help you get an estimate of how much money is needed.
-
Material costs
-
Tools and equipment
-
Time spent working on the project
-
Hourly rate
-
How much profit can you anticipate to make
-
No matter if you are looking to hire someone
For those just beginning, it may be a good idea to start small with simple items like boxes and picture frames. As you gain experience, more difficult projects will become possible.
Statistics
- Average lumber prices rose about 600 percent between April 2020 and May 2021. (familyhandyman.com)
- Overall employment of woodworkers is projected to grow 8 percent from 2020 to 2030, about as fast as the average for all occupations. (bls.gov)
- Woodworkers on the lower end of that spectrum, the bottom 10% to be exact, make roughly $24,000 a year, while the top 10% makes $108,000. (zippia.com)
- The U.S. Bureau of Labor Statistics (BLS) estimates that the number of jobs for woodworkers will decline by 4% between 2019 and 2029. (indeed.com)
External Links
How To
How to stain hardwood
Stain wood is a process that involves applying chemicals to the surface of wood, which changes its color. This chemical reaction causes the wood color to change from white and brownish red. Oak is the most common wood type for staining. However, you can also use other wood types.
You can apply wood stains in many different ways. One method involves mixing the stain and a solvent and then spraying it on the wood. Other methods use a solution of water and dye applied directly to the wood. You can mix stains into varnishes or paints to make them part of your finish coat.
The first step in staining wood is preparing the surface. The wood must be thoroughly cleaned to remove all grease and dirt. Sanding smoothens scratches and rough spots. The next step is to choose the stain type you want. There are two main kinds of stains available: non-penetrating stains and penetrating. Penetrating stains penetrate deeper into the wood than non-penetrating ones, making them ideal for dark colors such as mahogany. The best non-penetrating colors are those that work with light colors like maple.
Once you have decided on the stain type that you want, get your tools ready. A paintbrush works well for applying stains because it allows you to spread the liquid evenly across the surface. After you're done painting, make sure to have some rags handy to remove any excess stain. If you plan on mixing the stain yourself make sure that you have enough containers to hold the different components.
Once you have prepared your materials, start by cleaning the area where you plan to stain the wood. You can remove grime and dirt with warm water and soap. Use a dampened sponge and warm water to clean the entire piece. Make sure you eliminate any loose debris, especially if you plan to stain darker wood.
Next, spray the stain. Begin at one end and spray or brush the stain on the wood. Move slowly and carefully along the grain of your wood until you reach its opposite end. Keep the stain from dripping off the wood's surface. Before you proceed with the next steps, let the stain dry completely.
A coat of clear polyurethane sealing agent is applied to protect the paint. Apply three coats of polyurethane sealer. Allow the third coat to dry overnight before sanding the final coat.