
There are many ways to woodcarve an Owl. The process of carving one is different for each person. You can, for example, carve an owl with a chainsaw if the result is realistic. If you don't feel like using a saw, you can still use a knife. This will allow for fine details like feathers and talons. This will make your owl more realistic and even give it plumage. Final touches include sanding your carving. Depending on which type of wood you used, you might want to coat your carving with a protective finish coat.
A chainsaw is used to carve an owl
A chainsaw can be an ideal tool to carve an owl. You can use the saw to carve the face, wings, feathers, beak, and eyes. Learn how to carve the tails first. This will make carving an owl much easier. Next, add any details you like. Make sure to stop often and clean up any wood chips.
You should always wear personal protection equipment when you use a chainsaw. Chainsaws have a high risk of injury, so ensure you wear safety glasses. Wear gloves and protective clothing whenever you are using a saw. This is especially important if the chainsaw you are using is large. If you do, you could be seriously injured. Chainsaws are best used when the wood is dry.
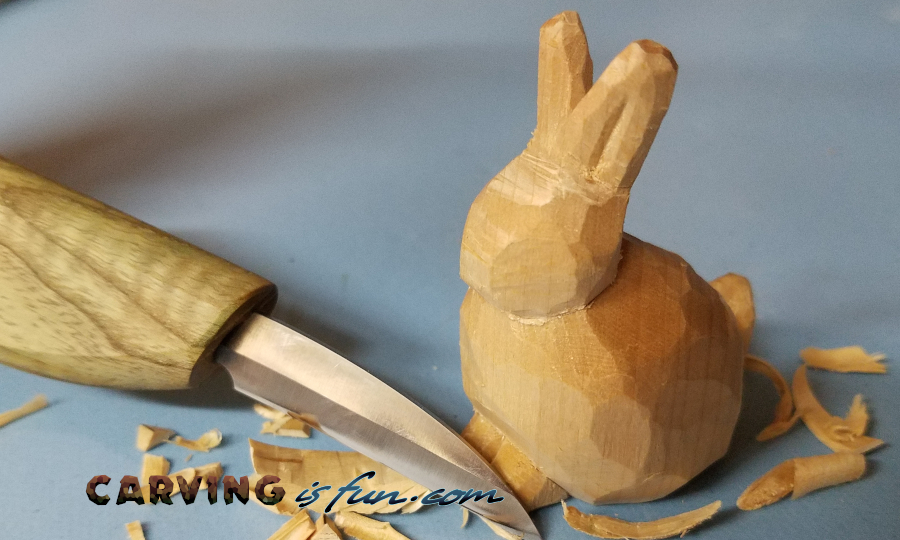
Carve an owl with a knife
To carve owls, draw a heart on a piece or wood. Make sure the heights of both halves is equal. To separate the shapes, draw a vertical line. The wings can be cut off with a chainsaw. Once you've completed the heart shape, paint the carving and finish it by adding feathers and boiled linseed oil.

Once you have outlined the overall shape of the Owl, you are ready to start carving. First, define your chin. You can also carve the wings or the belly of the bird. The same technique is used to carve a wing and tail. Once you have carved out the body of the Owl, you can then use a carving knife for details such as hair and eyes.
Using a chainsaw to carve a face
It is important to learn how to block out the shape before carving the owl's faces. With a chalk line, mark the center point of the wood. Then add the contours to the owl's eyes, and beak. After that, you can split the heart shape by drawing a vertical line. Finally, add the feathers by using a chainsaw.
Sketching a head shape is the next step to forming an owl's facial features. Begin by measuring out half an indentation from the back to the front corners. Draw a line starting at the ends. Sketch out the feathers for the head using a 1/4-inch #6 gouge. Once you've finished these steps, you are ready to start carving the owl’s face.
Carving feathers with a chainsaw
Draw a rough draft for the trunk before you start carving an owl. Make sure you draw the cutting lines accurately and clearly. Then, use a chainsaw to begin carving the feathers. Work your way up from the bottom. Draw contours for the owl's eyes and beak on one half of the trunk. Next, carve an owl's body. Make sure to follow the guidelines carefully so that the carving looks realistic and is safe.
Mark the talons with a pencil and cut the wood around them. Make sure that each side is equal in depth. Use a v tool to create texture on the feathers if needed. Once you're done with carving, paint your owl. The talons can be carved with a chainsaw.
Ordering an owl
Most people have unrealistic expectations regarding pet owls. This ignorance is often ridiculed, especially when someone tries to Google "owl pets". They are told that the owls will not make good pets, and that they can't be trusted to live for very long. They may be correct, but owls are great pets if you have the right mindset and resources.
Consider the laws in your region. Many states don't allow domestic owl owners. To keep one, you will need a license. Some states allow owls only for educational purposes, while others allow them as pets, depending on their behavior and potential danger to livestock. Some states make it illegal to keep owls for pets.
FAQ
You can learn how to woodwork.
The best way to learn anything is by doing. Woodworking requires patience, practice and skill. To master any craft, it takes time.
Learning how to do something is best done by doing it. Start small and use what you learn.
What woods can be used to make furniture?
Woods are classified based on their hardness. Softwoods can be pine, fir or cedar. Because they are resistant to rot, softwoods are often used as outdoor furniture. You can find hardwoods like oak, maple, mahogany, teak, and others. Because they can't weather outside, they're usually used indoors.
Are you looking for tips to start a woodworking company?
It takes a lot of effort to start a woodworking business. You won't mind working hard if your hobby is something you love. You will probably love the challenge of starting your own business.
It is important to remember that unexpected problems may arise when you start a new venture. You may run out of money suddenly. Or you might find that your customers aren’t willing or able to pay as much you had hoped. To survive, you'll need to be prepared for such situations.
A good tip is to open a separate bank account for your business. You'll be able to track how much money comes in and out.
How do I organize my shop?
Setting aside an area to store tools is the first step in keeping your workshop organized. Your tools will stay sharp and ready to go when they are free from dust and debris. You can hang tools and accessories with pegboard hooks.
How do I know what type of wood I'm dealing with?
Always read the label when purchasing wood. It should have information about the wood species as well its moisture content and whether any preservatives were used.
Where can you buy your woodworking materials?
There are many places that you can find all the information you need. You could go to your local hardware shop or visit websites such as Amazon.com.
For furniture and other materials that you can reuse, check out flea markets and garage sales.
How long does a piece take to finish?
It all depends on what type of wood you use, how complex your design is, and how much finishing you use. Hardwoods, on the other hand, are more durable than softwoods. Hardwoods are more expensive than other woods. But they last longer and resist moisture better. Finishing furniture can take anywhere from one week up to three months.
Statistics
- In 2014, there were just over 237,000 jobs for all woodworkers, with other wood product manufacturing employing 23 percent; wood kitchen cabinets and countertop manufacturing employing 21 percent. (theartcareerproject.com)
- Overall employment of woodworkers is projected to grow 8 percent from 2020 to 2030, about as fast as the average for all occupations. (bls.gov)
- The best-paid 10 percent make $76,000, while the lowest-paid 10 percent make $34,000. (zippia.com)
- If your lumber isn't as dry as you would like when you purchase it (over 22% in Glen Huey's opinion…probably over 10-15% in my opinion), then it's a good idea to let it acclimate to your workshop for a couple of weeks. (woodandshop.com)
External Links
How To
How to join wooden boards without using nails
Many people love woodworking. Woodworking is a relaxing hobby that allows you to use your hands to create useful things from wood. Sometimes you may want to join two pieces together of wood without using nails. This article will help you to maintain the beauty of your woodwork projects.
Before joining the pieces of wood together, you will need to first trim any edges. Sharp corners can cause problems down the line. Once you've done this, you're ready to start gluing your boards together.
If you are working on hardwood, you should only use glue on one side. If you are using softwoods such pine or cedar, glue should only be applied to one side. After applying the glue, press the boards firmly until they are completely stuck together. Before you proceed to the next step, be sure to let the glue dry completely.
After you have glued your boards, drill holes where you want to insert screws. These holes will differ depending on the type and size of screw you are using. For example, if you intend to use 1/2-inch wood screws, you need to drill a hole that is at most 3/4 inches deep.
Once you've drilled your holes, you'll want to drive the screws through the joint and into the backside of the board. Do not hit the boards' front surfaces. It will ruin the finish. When driving the screws, try to avoid hitting the ends of the screws too much. This will help prevent splitting of the end grain.
Once your project is complete, it's time to protect it against the elements. To do this, you can seal the entire furniture piece or just cover the top. It doesn't matter what method you use, you want something that will last many years. You can choose from oil-based varnishes or polyurethane, shellac and lacquer as examples.
These products can be found in most home improvement shops. You should make sure you are getting the right type for the job. Also, remember that some finishes are toxic and should never be used indoors. Wear protective gear whenever you are handling them.