A lidded box is a faceplate project that requires you to square the sides and perimeter of the box. The lid and box are typically cut from the same 2-in thick block of seasoned wood. First, place a flat foot on the one side of your wood. Because the final box will rest on the base alone, the center must be slightly recessed. Use a small scraper to cut the recess.
The challenges of hollowing end grains in lidded box
End grain hollowing is a common problem when making boxes. This process can be difficult and requires special tools. An old screwdriver can be used to create a basic hollowing tool that costs $30. You can also buy a gouge to use for this purpose. The key to hollowing end grain is to avoid using sharp edges. A gouge should have a flat, long bevel with a round fingernail shape.
It is five times harder to hollow end grain than side grain. This is one of the greatest challenges in hollowing end grain. It is also susceptible to tearing out. This is why many experienced bowl turners experience difficulties hollowing end-grain. These problems can be overcome by switching from a gouge or scraper to help, but it is important to note that lidded boxes may require special end grain tools.
Here are some techniques to make a snap fit lidded box
A snap fit lidded box can be described as a container that features a sliding lock. These boxes often contain liquid or other liquid-filled containers. They are easy to assemble and disassemble, and can be automated for low assembly costs. There are many types of snap-fits available. Engineers should consider cost, strength and failure rate when choosing the right one. This article will provide an overview of all types of snap-fits.
The upper portion of a 3-D printed snap-fit lidded cardboard box should be designed with the correct measurements. The upper portion should be snug with the base. When seated, the lid should not move. It should have a tight fit. In small pieces, you can remove the wood. This process may be tricky but is worth the effort.
Wooden lidded box
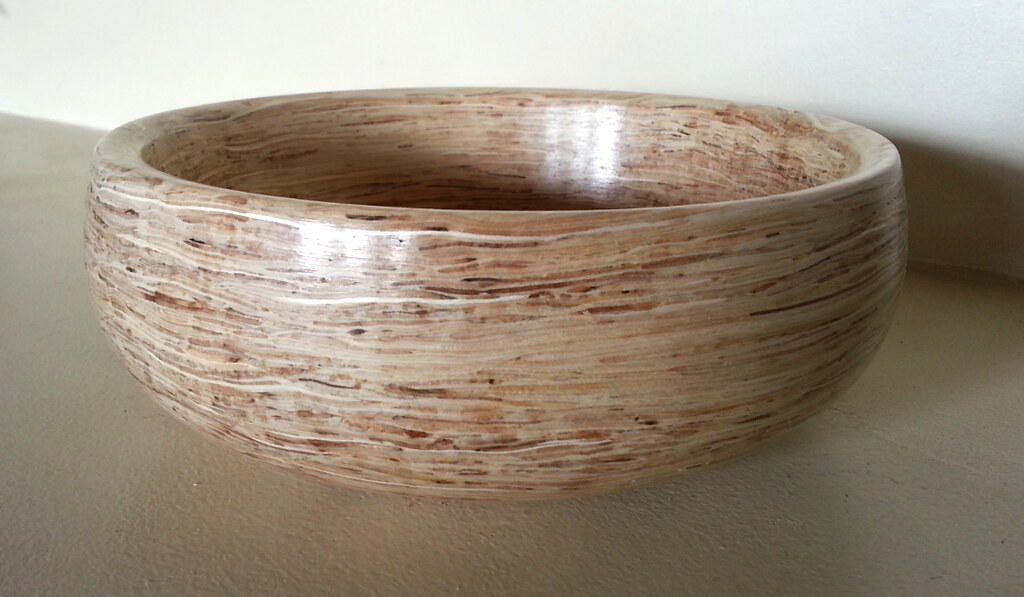
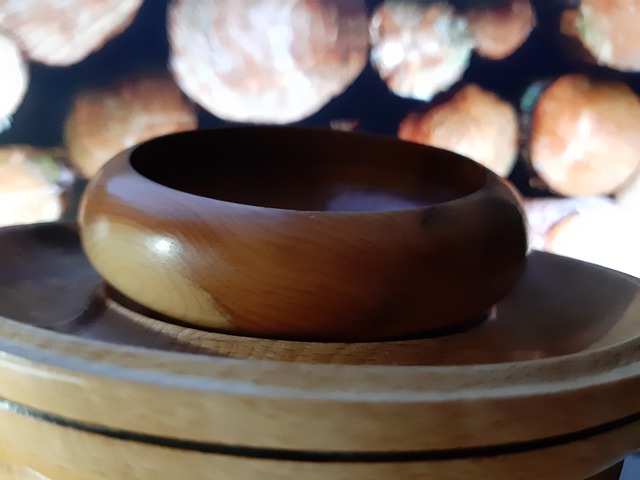
Reclaimed wood is used to make lidded containers. After a tree is cut, it's dried to prevent cracks. It is then rough-turned to make a general shape. Another drying process is used to shrink the wood. Depending on the style, the lidded boxes can be made of different wood types. A lid is typically made of two pieces. One piece is smaller than the others.
The lathe turned small circular containers into lids. Boxwood, which is a slow-growing tree with a narrow grain and thin pieces, was used by turners. This wood was especially good for creating fine features due to its close spacing. It was also used frequently to make double-sided combings. These boxes were also called pyxides and were made from boxwood.
Size of lidded box
The size of a lidded box depends on the type of wood you use. Maple and cherry are the most common woods used. These two wood types make great boxes because they have different shrinkage rates. For a good quality box, the wood should be 3 inches squared and 5-6 inches long. You should ensure that the wood you use for your box is dry. For an aesthetically pleasing lid, you can use exotic woods, but you should be familiar with the process.
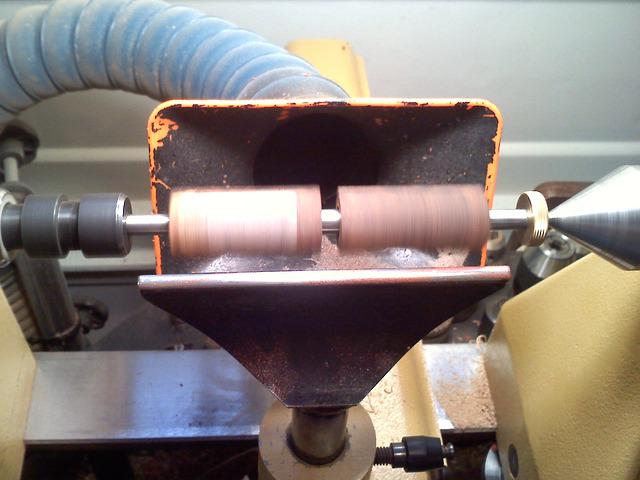
Preparing the wood is the first step. You will need a thin chamfer to smoothen the bottom of your box and make it round. After that, cut a V-shaped cut at the joint. Once you are satisfied with the shape, you will be able to use a spindle-roughing tool to finish shaping the remainder of the box. Use a parting tool before you begin carving the lid. Next, use a skew to chamfer the base of the lid. This will soften corners and hide a slight circularity around the base/lid joint.
FAQ
How often should I get new supplies?
You may have to replace certain tools. If you are using hand tools, you will need to sharpen them frequently. For power tools, replacement parts will be required frequently. You can spread your purchases over a number of months to avoid spending too much.
Do you have any suggestions for starting a woodworking shop?
It can be difficult to start a woodworking shop. However, if you are passionate about your hobby you will be willing to put in the effort. You'll likely enjoy the challenge of owning your business.
You should remember that unexpected issues may occur when you launch a new venture. Unexpectedly, money might run out. Or maybe you'll find that customers aren't willing to pay as much as you'd hoped. You need to be ready for these situations if you want to survive.
Set up a separate account in your bank for your business. You'll know exactly how much money is coming in by setting up a separate bank account.
How much should a hobbyist invest to get started?
To start your own woodworking company, you will likely need capital to purchase the necessary tools and other supplies. Start by getting a small circular saw saw, drill press or circular saw. These items aren't very expensive, so you won't break the bank.
Statistics
- Most woodworkers agree that lumber moisture needs to be under 10% for building furniture. (woodandshop.com)
- Overall employment of woodworkers is projected to grow 8 percent from 2020 to 2030, about as fast as the average for all occupations. (bls.gov)
- Average lumber prices rose about 600 percent between April 2020 and May 2021. (familyhandyman.com)
- In 2014, there were just over 237,000 jobs for all woodworkers, with other wood product manufacturing employing 23 percent; wood kitchen cabinets and countertop manufacturing employing 21 percent. (theartcareerproject.com)
External Links
How To
How can you measure wood accurately?
We use several methods to measure wood. We use a digital scale (a tool for measuring distances), a laser-level (used to level your work surface), as well as a bubble level (used in order to level your work surface).
A digital caliper comes with two jaws. One jaw holds the measured object while the other measures the distance between the two points. The digital caliper can be used to measure small distances such as the thickness of wood.
Laser levels feature an infrared-light beam that projects lines across the floor. The laser emits a red dot on the line. The line can be viewed down to determine if the surface has an even surface. Large surfaces can be checked for accuracy with laser levels.
Bubble levels look similar to a compass. The device's center bubble is visible. The device will inform you if the surface is level if the bubble is in the center. Bubble levels are great for checking the accuracy and precision of smaller areas.